CLICK HERE FOR BLOGGER TEMPLATES AND MYSPACE LAYOUTS »

Wednesday, December 2, 2009

Alien update...

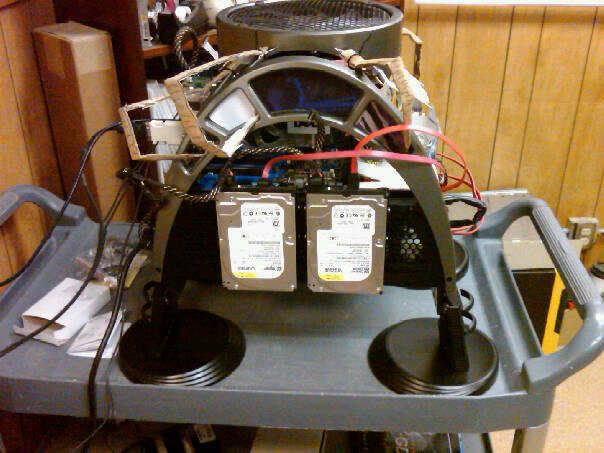
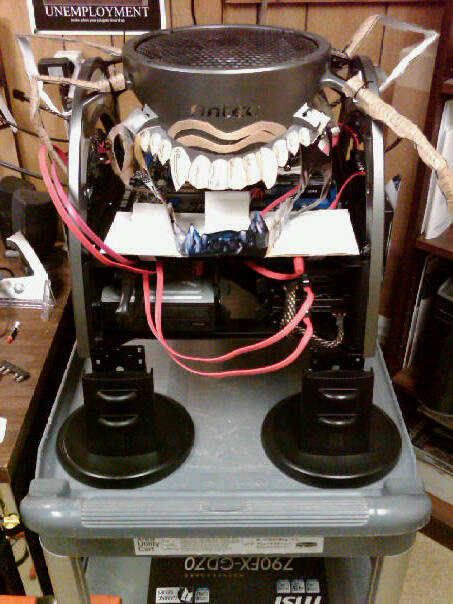
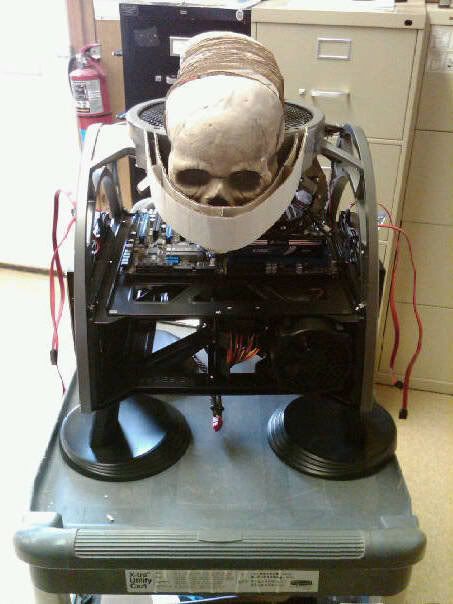
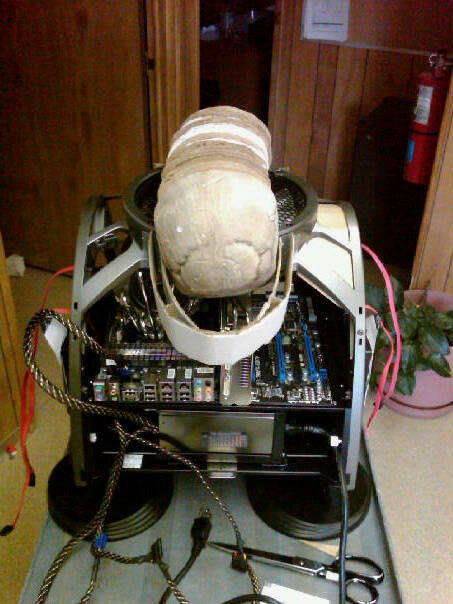
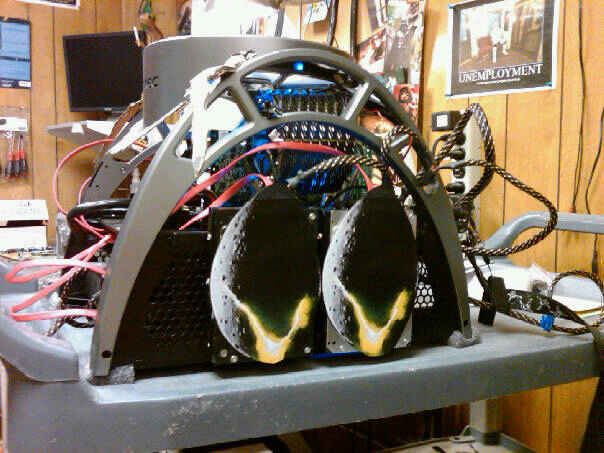
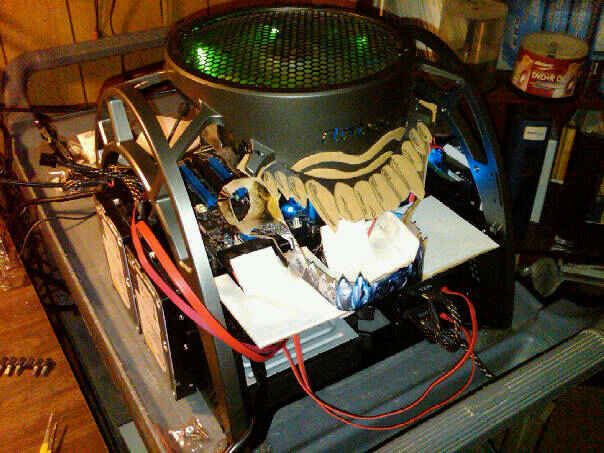
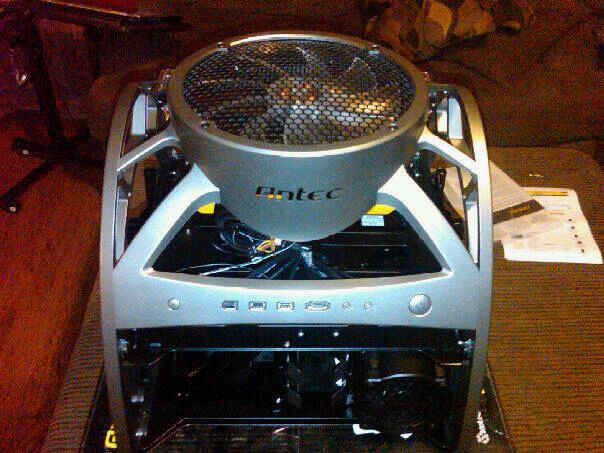
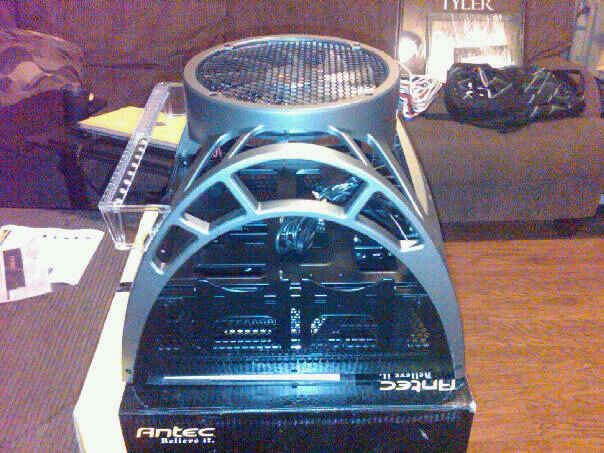
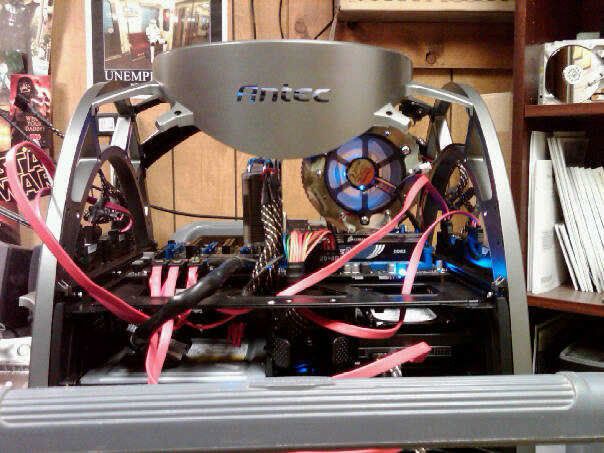
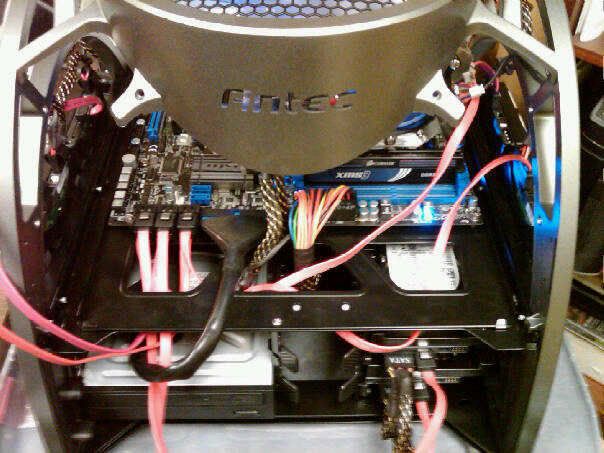
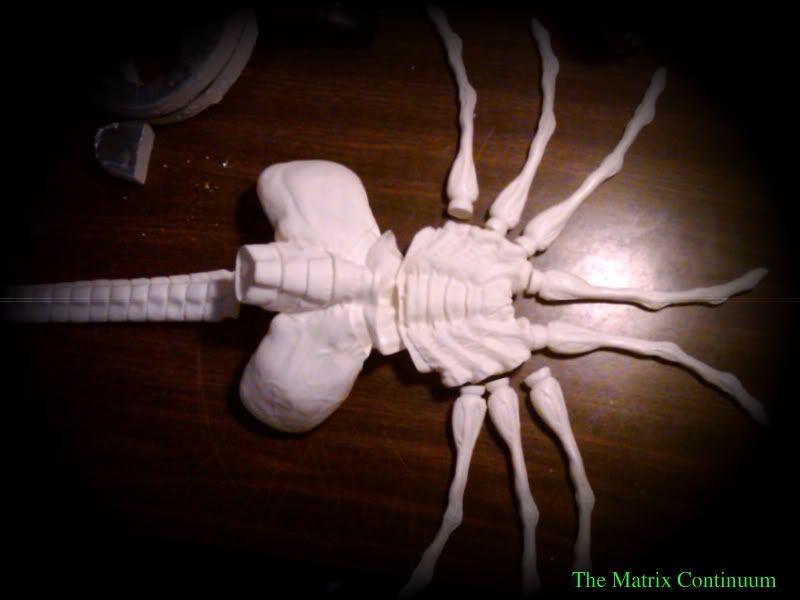
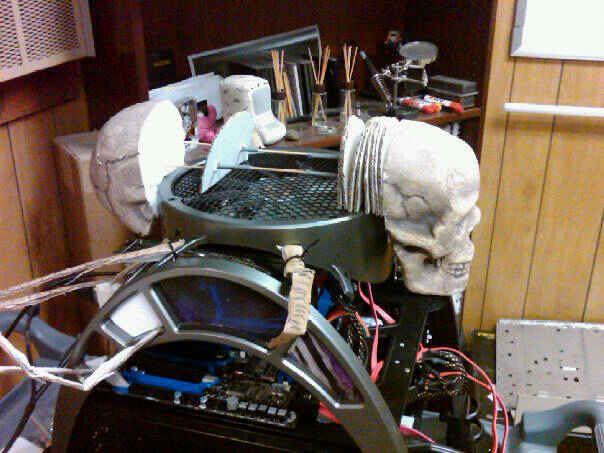
here are a couple of updated picture of Alien in her current state...


transfer complete...

from here on out post will be made as we progress on the Alien PC Mod...

computer case feet...

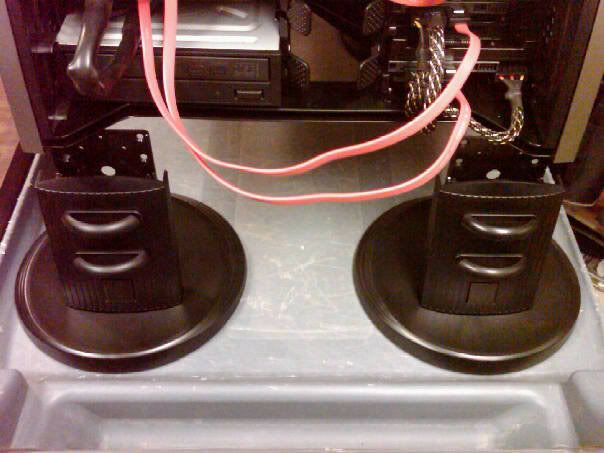
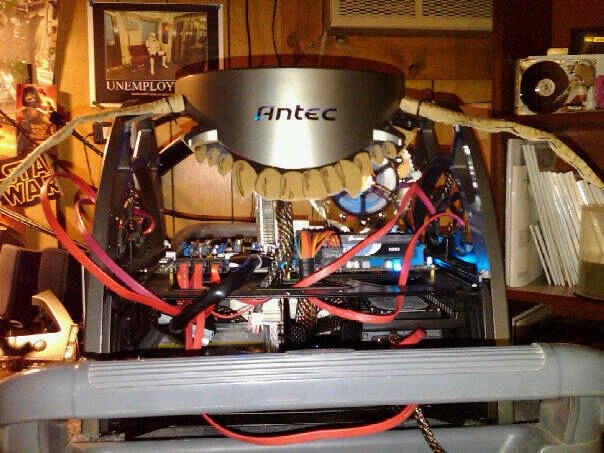
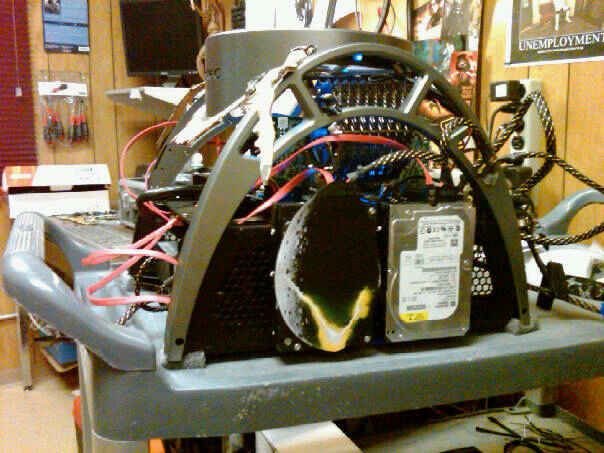
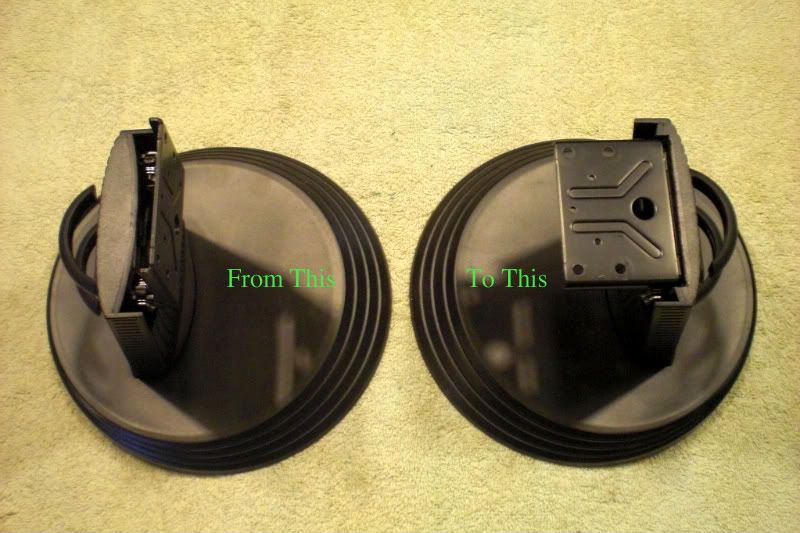
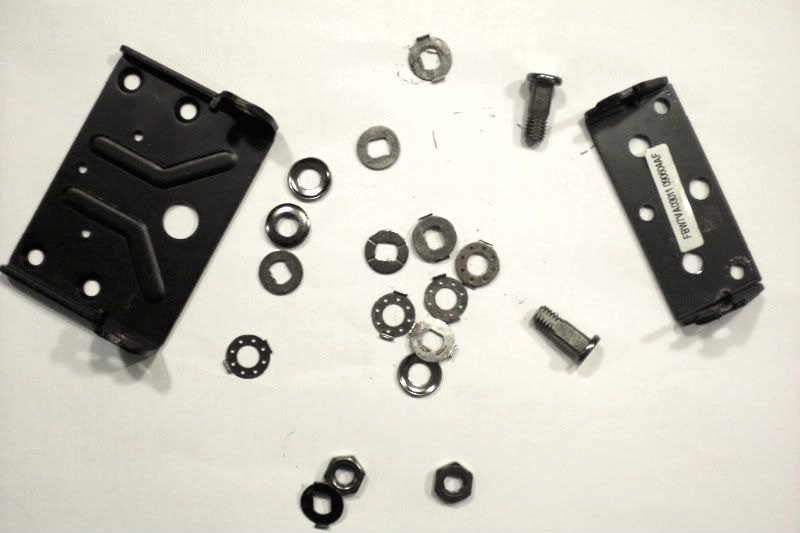
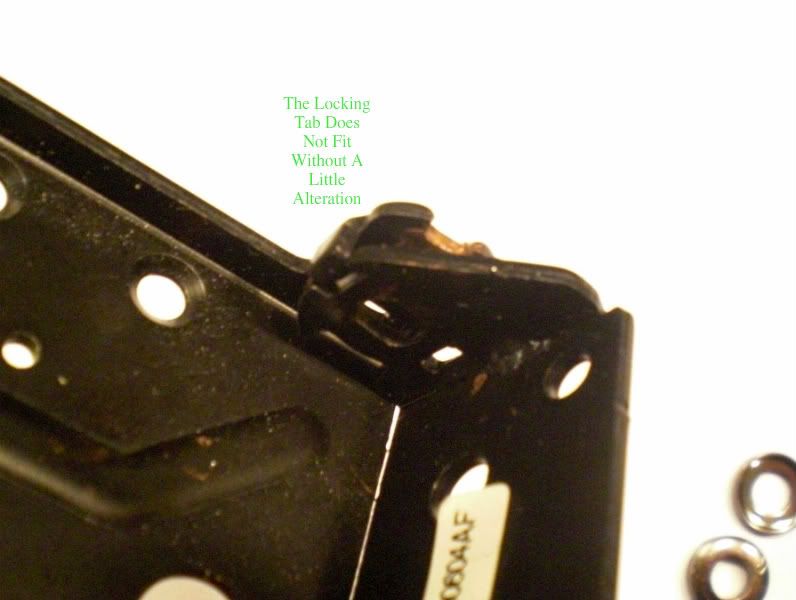
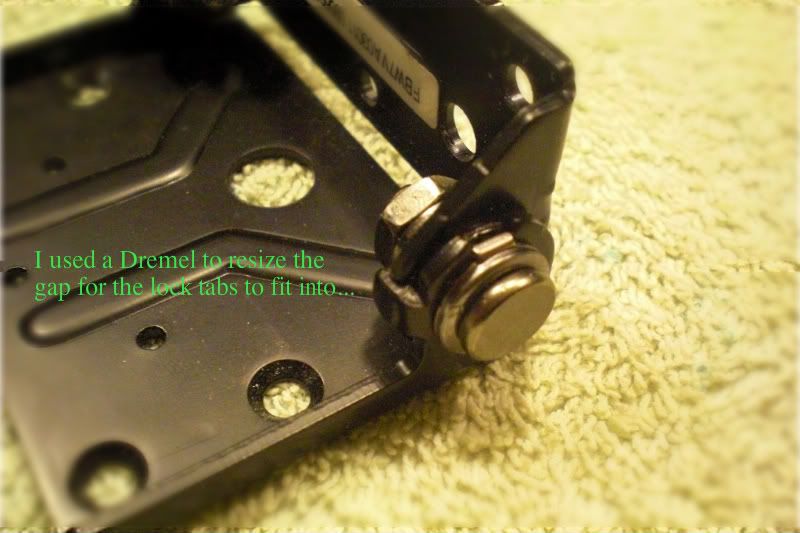
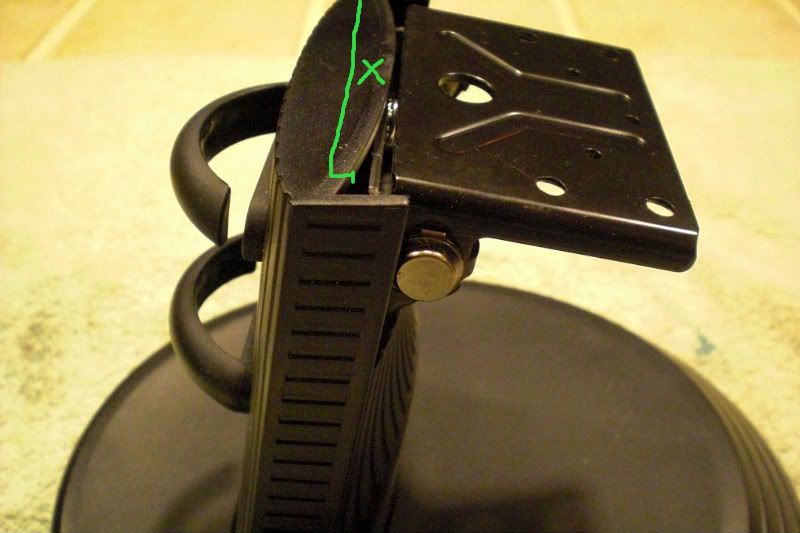
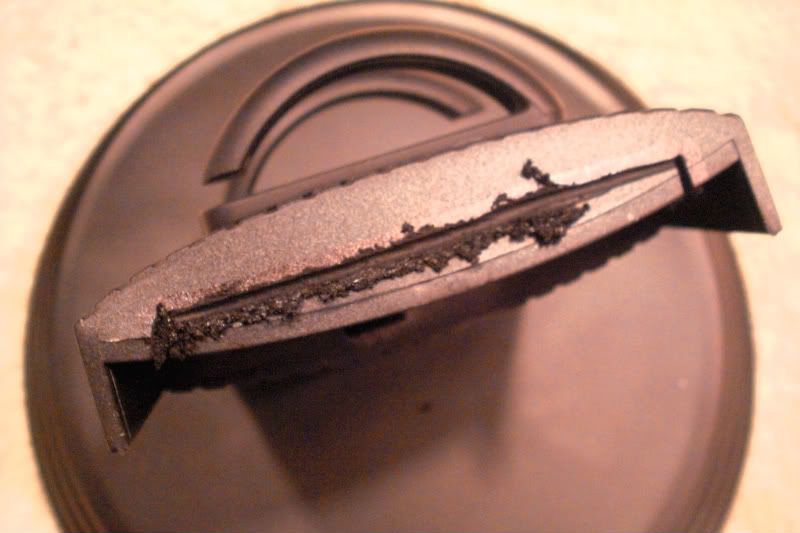
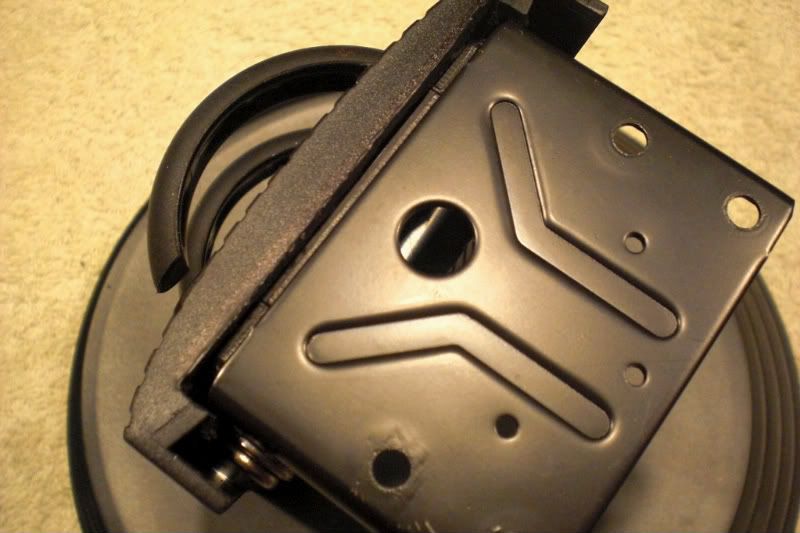
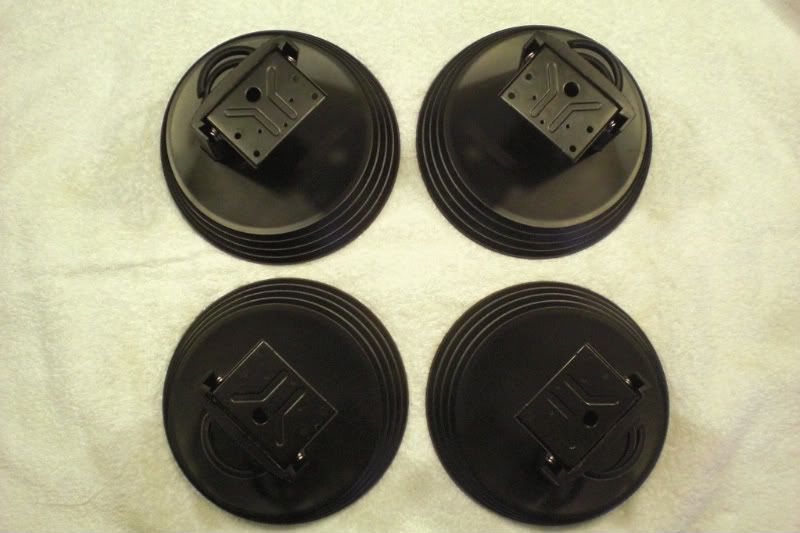
i'm using four monitor stands as case feet...as is, the hinges are mounted in the wrong position...


we are going to remove the hinge and modify it so that it is perpendicular to the top of the stand...


as you can see the cutout is not large enough to accept the locking tab...


a bit of work with the rotary tool should correct this...


we reassemble the hinge...


we still need to remove a bit of the casing to allow the hinge to sit flush against the back of the stand...


score your line, then cut here...


and here she is all snugged up...


repeat steps on the remaining three stands and you have a set, ready to mount...


this is where the Pneumonia set in....

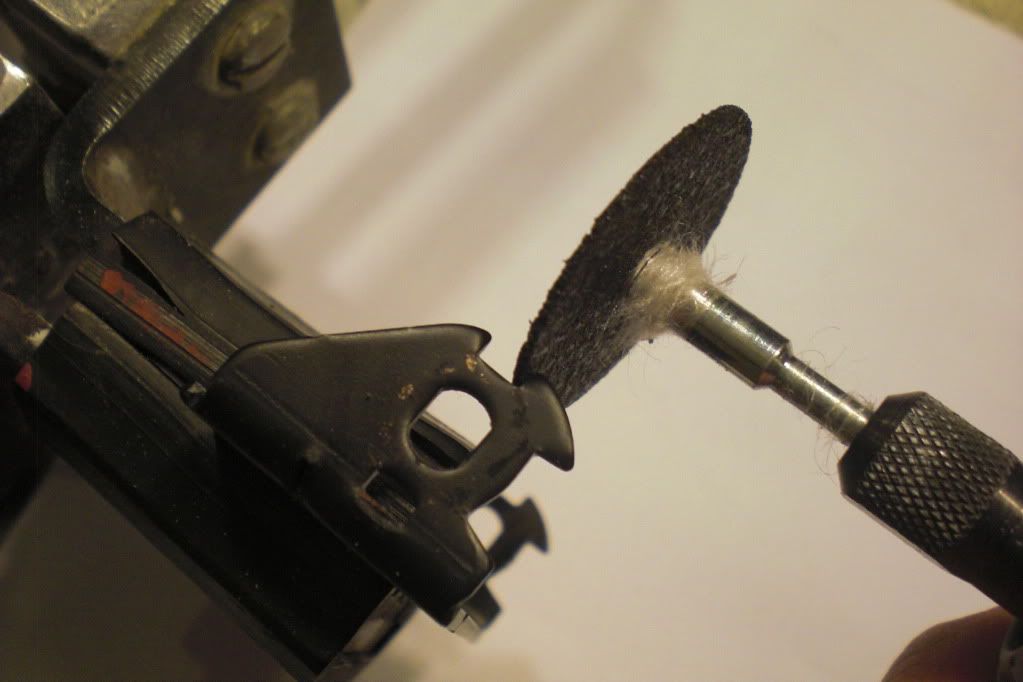
since it takes so much time to do video production, we go back to using a camera till i can get rid of this cold...

how to use fiberglass...

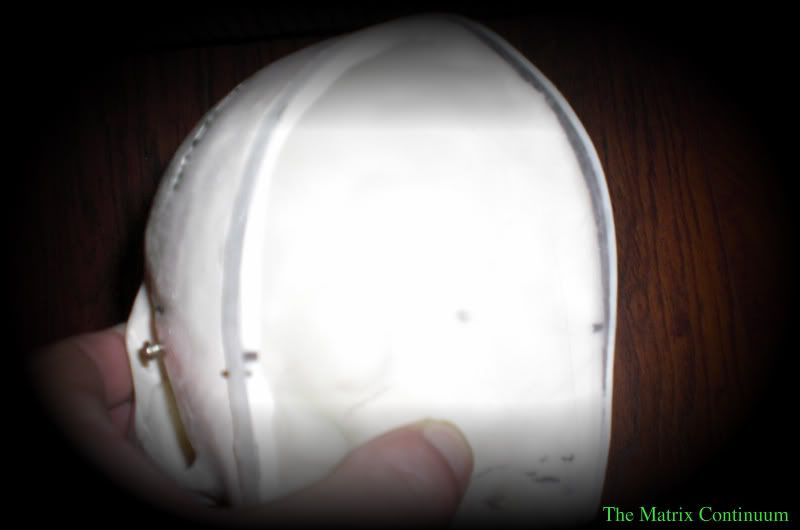
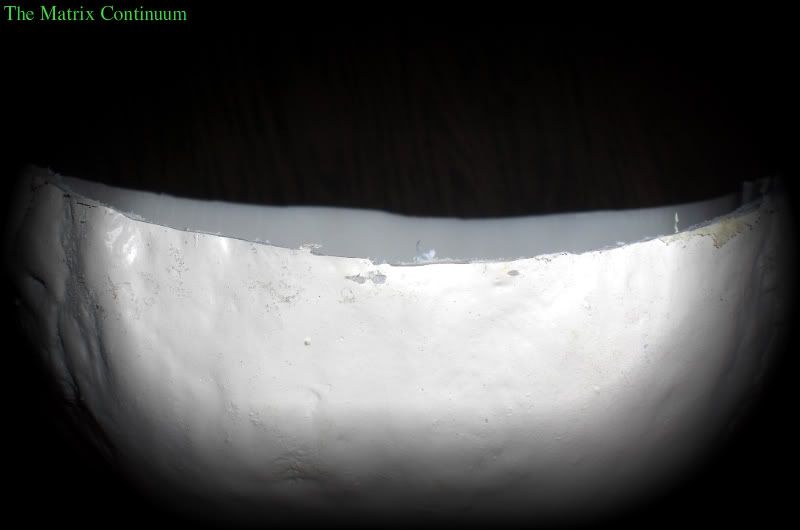
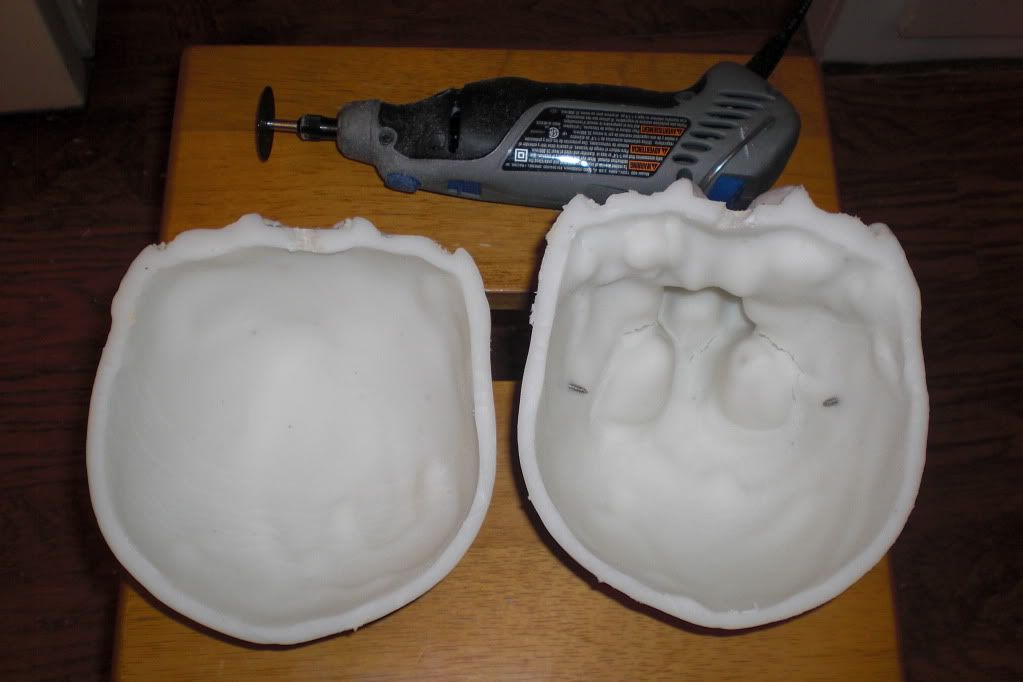
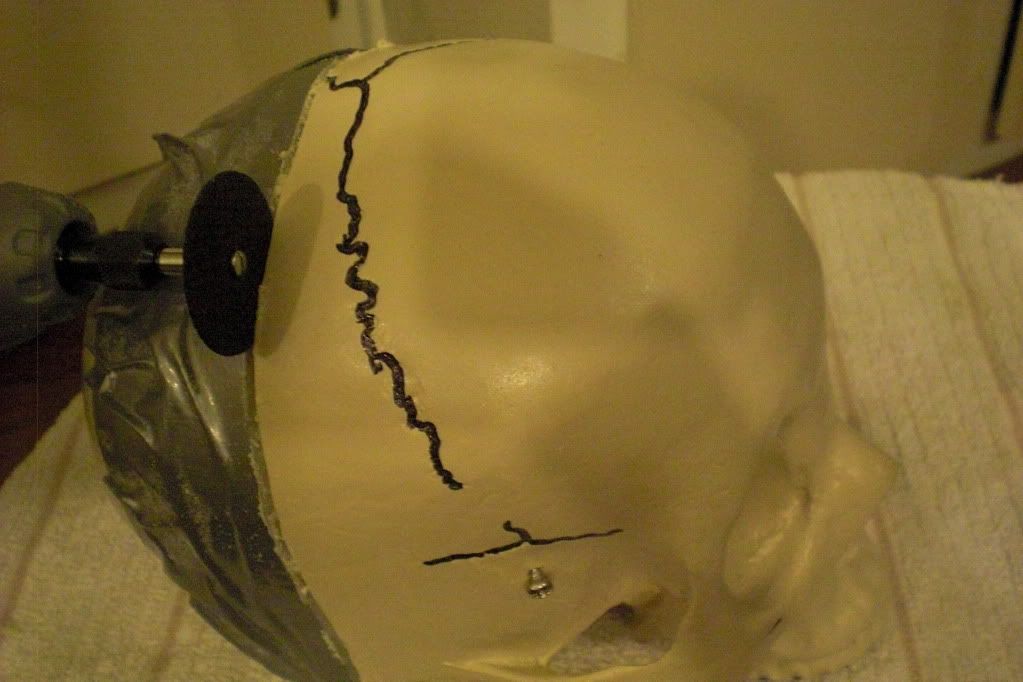
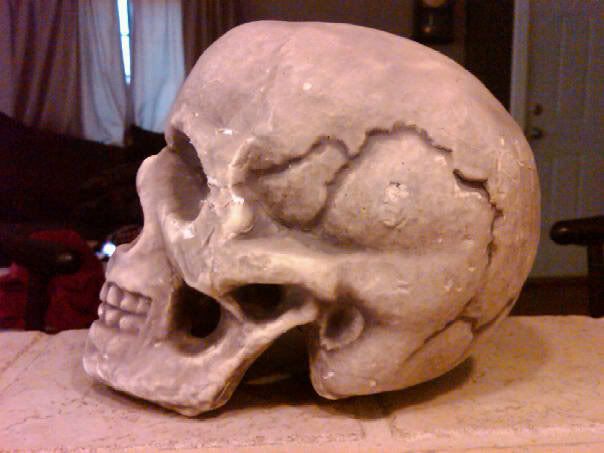
today we use fiberglass to bond the skull caps onto the skull halves and do a bit of sculpting to create more alien like features....


creating the acrylic spacers...

today we create the spacers that go between each skull section...


how to mass produce sections...

with all the pieces lock in a vise we create all twenty piece at once...


today we demonstrate polishing techniques...


in this video sanding techniques are demonstrated....

still filming in the kitchen...


creating the layout for the skull sections and cutting out skull sections...

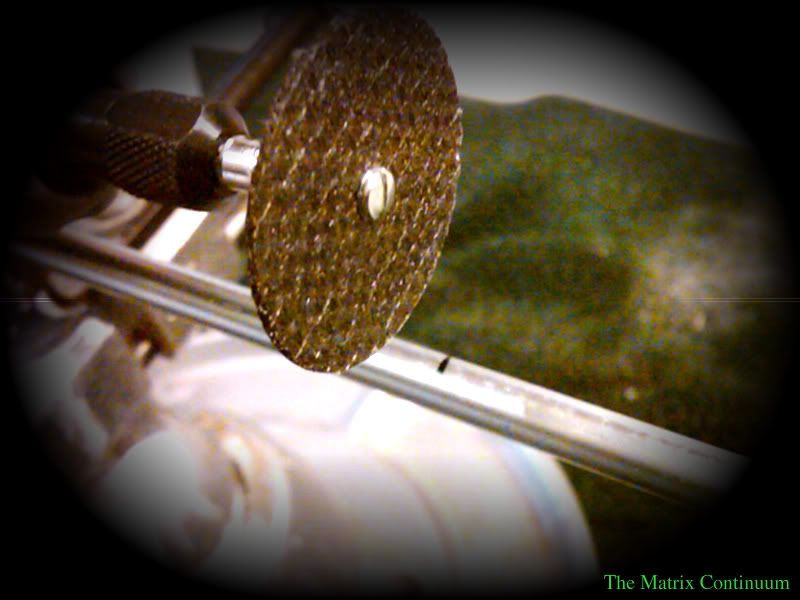
today we layout our patterns on the acrylic sheet and make our cuts...the "Cooking With The Matrix continuum" crack that you hear is in reference to something Bill Owen (one of the best PC modders in the world) commented on.  Since I went to Bill for some insight on how to make modding videos, I ask his input on how to make them better.  He responded by saying, "you aren't teaching how to make a sandwich, you are teaching them how to mod PC's...find yourself a backdrop, preferably one with a Matrix theme"...and stop filming in your kitchen...it has since been a long running joke...


our first modding video goes live on youtube.com...

THE M8TRix continuum goes live in the 775....it's just an update...and it's rough...real rough...but with all things in life it can only get better...


video production begins...

today we begin video production by creating a splash video...


creating the rail system for the skull sections to ride on.....

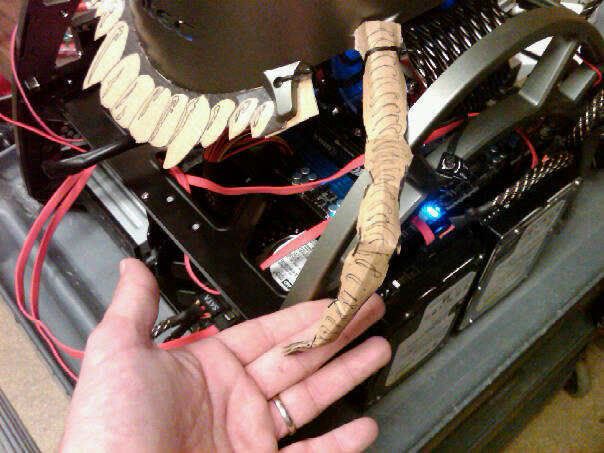
next we cut a couple of 12 inch segments of .25 inch diameter stainless rod...


now you begin to see this piece really take shape as the skull segments are threaded one by one onto the rail system...


.

capping the skull...

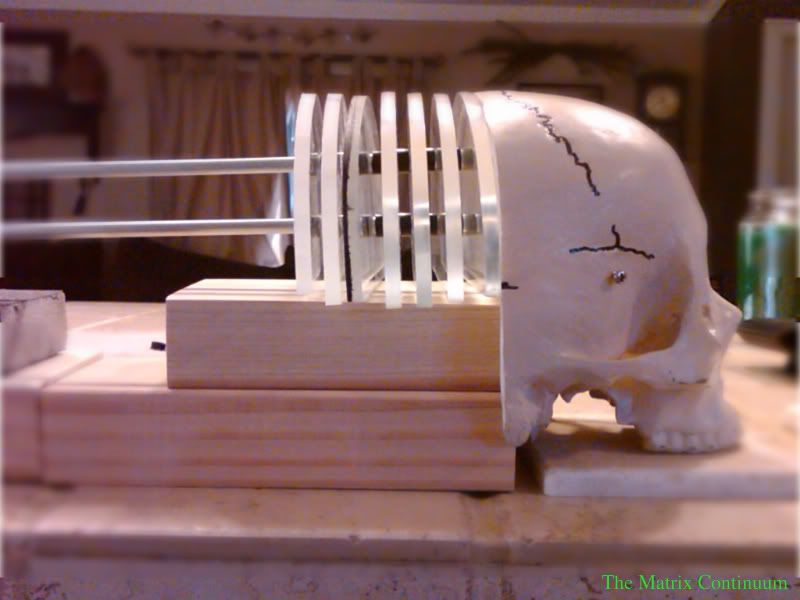
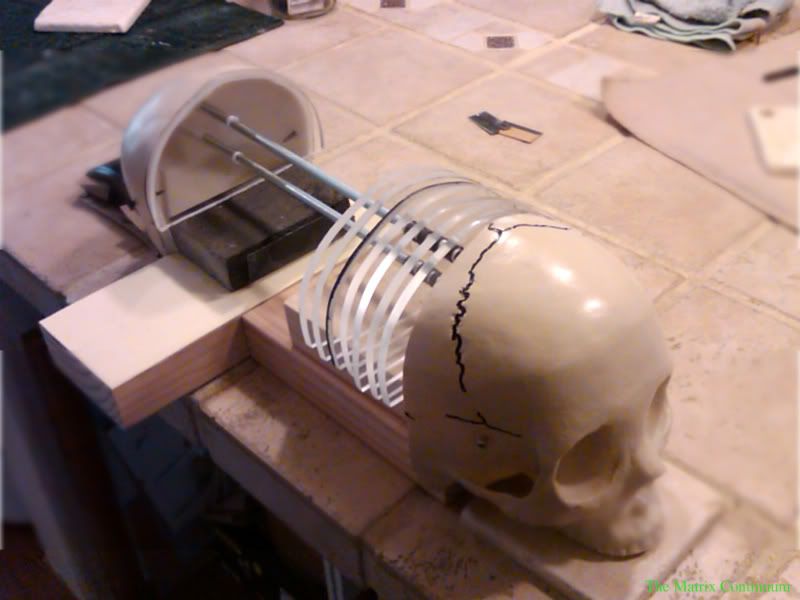
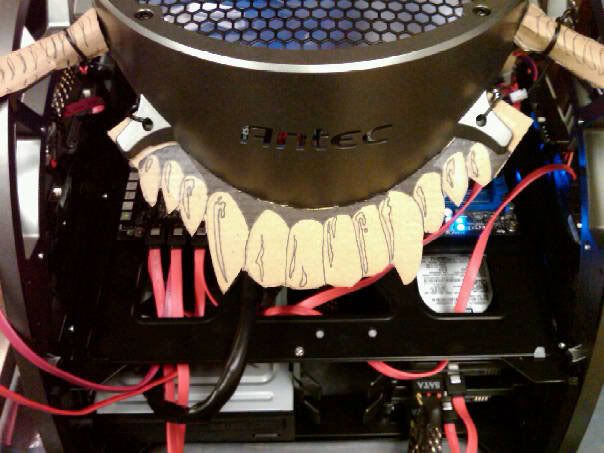
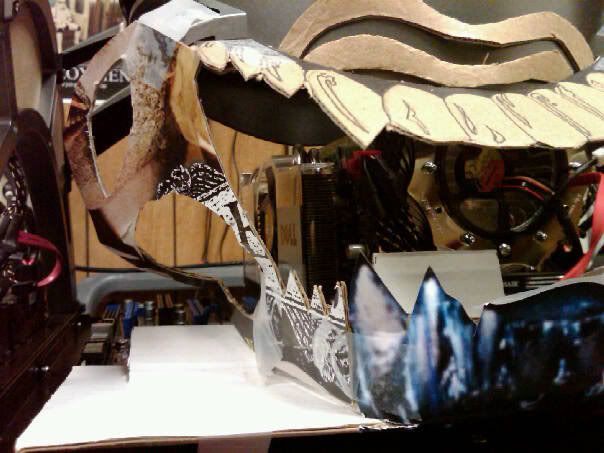
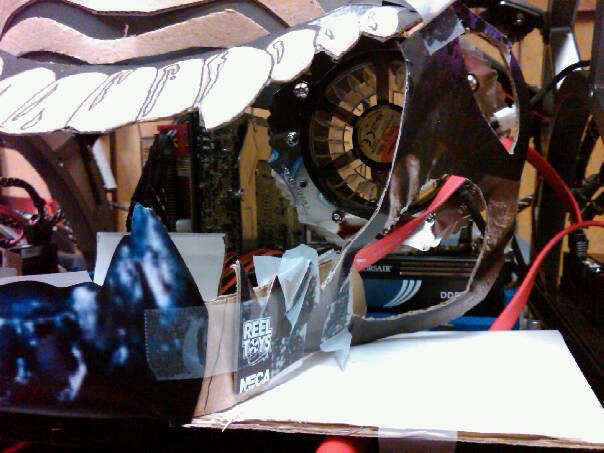
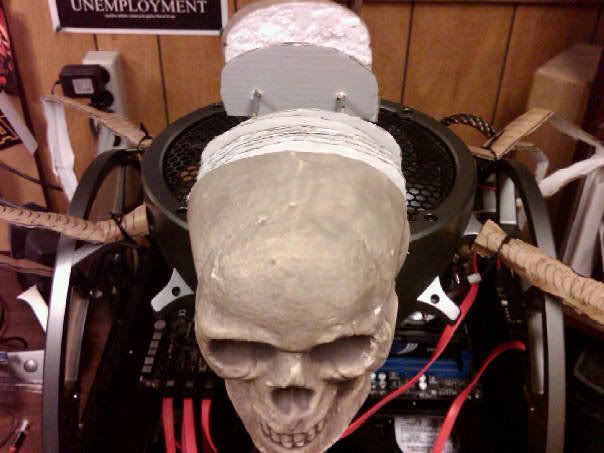
i needed to design a cap for the skull halves to have something to attach each half of the skull to the radiator...a couple pieces of acrylic cut to match the profile of the skull...


trimming for a tighter fit to the housing...

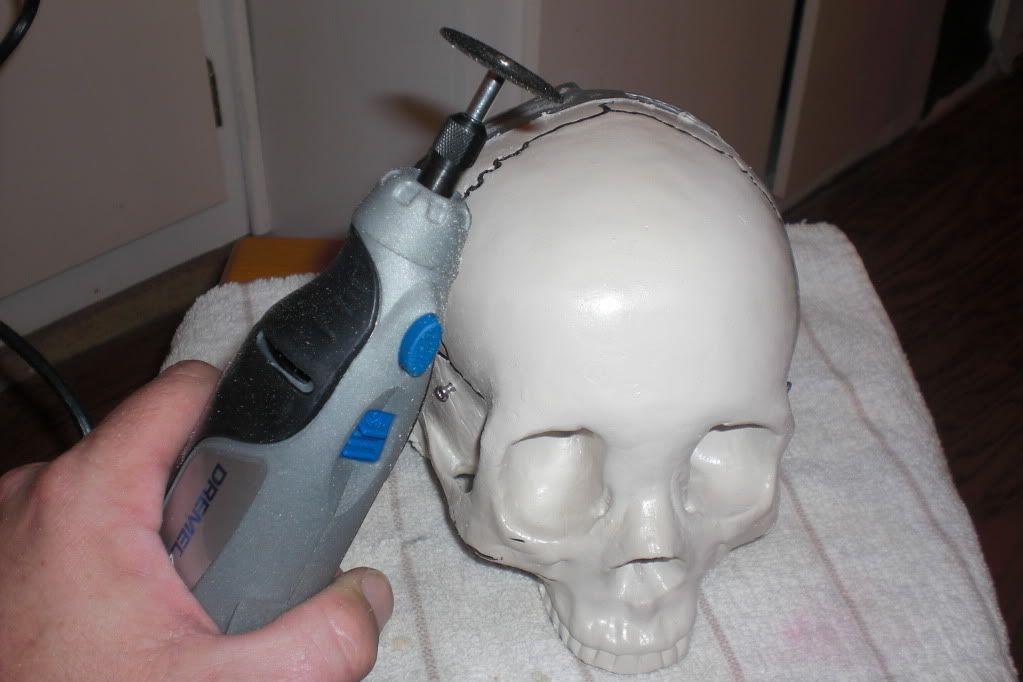
i used the Dremel to remove an arc of material from the bottom portion of the two skull halves so that we could create a tight fit to the fan housing...


the skull and face hugger models arrived today...


a bit of surgery was required to split the skull in two...


amazing how easy it is to get rid of a body...


i used duct tape to form the line that i would follow...


the Dremel does it all...


the mock up...

this is the version we will continue on with...


i decided to scrap the "Monster House" look and move towards a H.R.Giger look

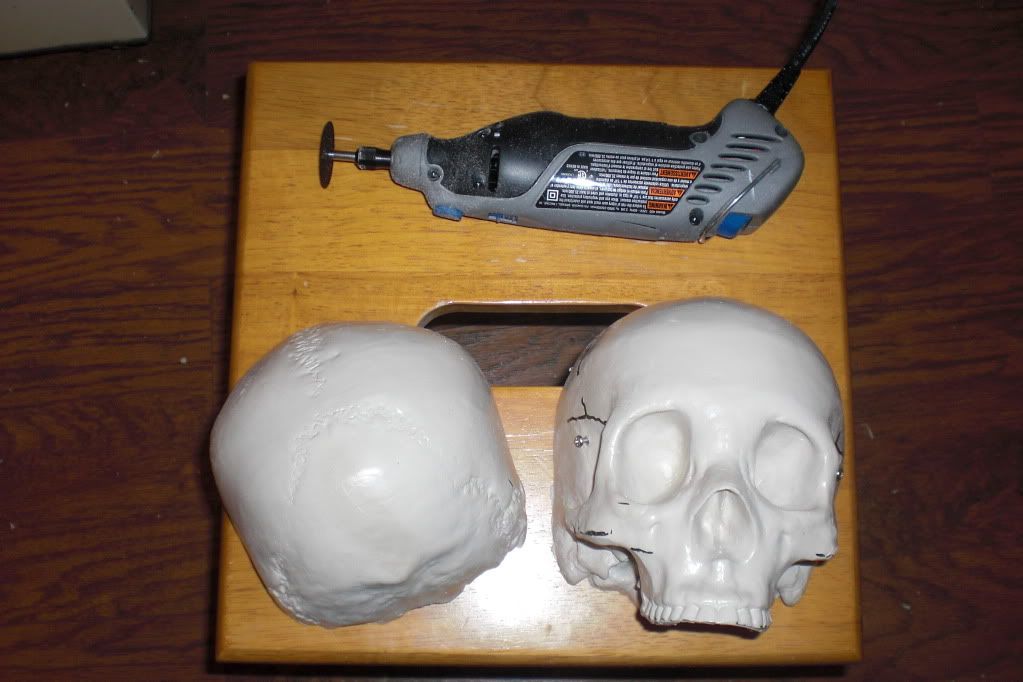
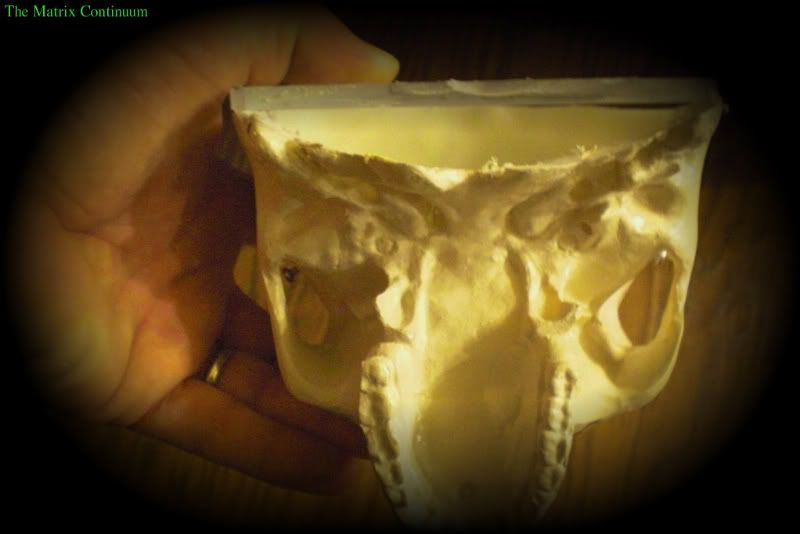
with the over sized jaw removed, i replaced it with a human skull...this is the one i used on the mock up till a more suitable one could be ordered...


the cardboard pieces represent the acrylic parts that i will fabricate later...


 a close up shot for you...


and some things we have stayed with...

like this idea of using four matching monitor stands as case feet...


she has taken many forms over the past couple of months...


so here we are back at the beginning...here is my Antec Skeleton right out of the box...